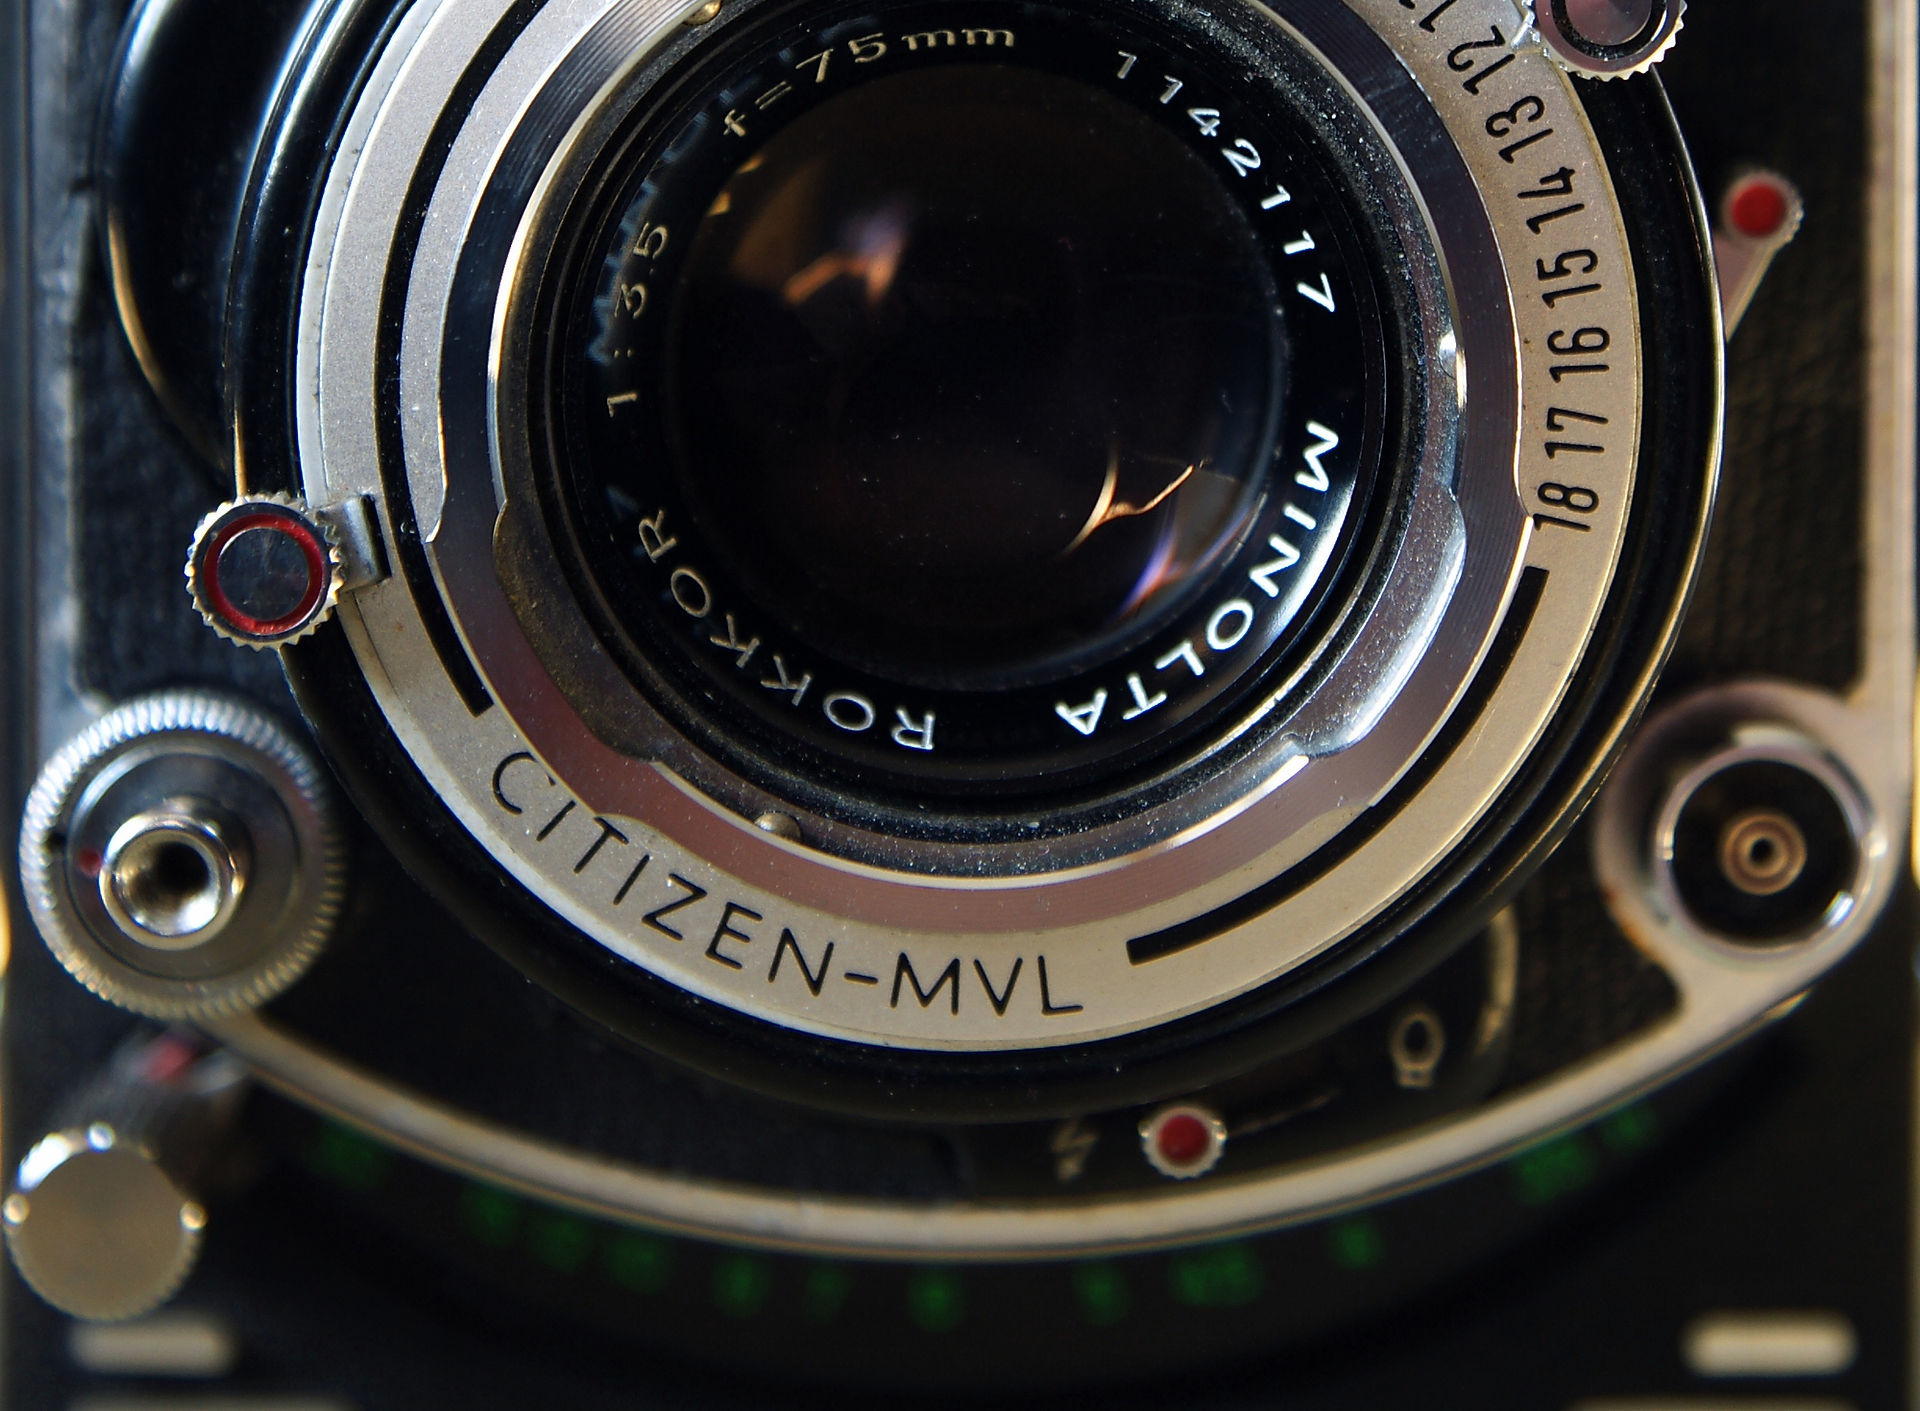
AUTOCORD : the Minolta's TLR
by Fred
Heck
What a disappointment to discover on your paper prints an unwanted halo is installed on your negatives when you know full well that you have not invited it to the party.
Three causes are possible :
1) the sun,
2) the darkroom,
3) the light seal.

The sun.
Since the lenses have not been treated, the sun can generate optical aberrations, its rays propagating in the lenses.
Remedy : move so that you do not have the sun within 80 degrees of the shooting axis or place a sun visor in front of the shooting lens (read the page "Accessories").
The darkroom.
1. The halo can be due to a bad positioning of the back cover hinges, the cover is not tight against the body of the camera. The elbow of the hinges should point towards the front of the camera.
Remedy : unscrew the screws of the hinges (reverse them if necessary), press the cover firmly and tighten the screws.
The halo may be due to a sun reflection would be entered in the room and would have benefited from a lack of black in some places to create a bright disruption to your roll film.
In this case, the location of the halo appears random to each other view and may not appear on some views.
To remedy this situation, an inspection of the darkroom is necessary.
And particularly the cone near the lens which serves to hide the bronze bushing from the focus system.
The cone is only housed in the bottom of the darkroom , remove it with the fingers.
A little bit of paint " deep black mat" placed on the damaged areas using a small brush and the issue is settled.
Let the paint to dry completely before replacing parts.
When you shoot views under sunny weather, consider using a sun visor ( see the " Accessories" page ).
2. The halo may be due to a sun spot entering the dark room through a notch or a hitch on the edge of the dark room.
To remedy, change the light seal (read below).
The light seal.
Given the significant age of the Autocord, sometimes the light seal is become as shriveled as some residents of a hospital geriatric ward.
If the halo is repeated in the same place on each picture, the light seal can be affected. Replace it.
Equipment :
- ) a sheet of foam for cameras 1.5 mm thick ( you can find at Camera Repair Materials in England - postal address on request via the "Contact Me"),
- ) a cutter lever,
- ) a ruler,
- ) scissors,
- ) fine tweezers.
Procedure :
Open the back cover of your Autocord, partially unscrew the two screws of one of the hinge so as to disconnect the hood.
The original light seal of the Autocord is... a cord. Black, small diameter, it runs on three sides inside the back cover.
Remove this cord and clean the groove where the cord was to remove any glue residue.
Using the cutter, cut a strip of foam of 2,5 mm wide (3/32 inc) and 18 cm long (7 inc).
Carefully remove the paper tape holding the foam between two fingers. Advance your finger along the foam as you remove the strip of paper to avoid tearing the foam.
Place the foam in the groove of the light seal using the pliers, glue side at the bottom of the groove.
Start at a long side.
Then the other.
Finally a piece of 7.3 cm long (2 inc 7/8 ) on the short side (the one opposite to the hinge ).
Hinge side, the seal is a strip of thin black velvet 3 mm wide (1/8 inc).
Inspect and replace if necessary.
When all the seals are in place, replace the cover into the hinge, tighten the screws and close the cover.
Here it is ready.


